Grafting Tips:
TAMU Grafting:
Fruit Trees:
Citrus Trees:
Around the
yard:
Useful stuff:
Our Edible Landscaping:
Visitors since 20Feb05
How to restore a Model A Ford Tillotson Carburetor
I have restored Tillys for sale for $150 including shipping. Email me by clicking here!
|
I will also buy your core Tilly model X for up to $25 including shipping or Zenith $50 including shipping if complete. Deduct $10 if no carburetor driver. Deduct $15 if no throttle shaft. Deduct $8 if no choke shaft. |
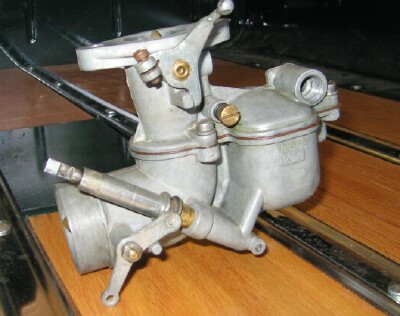
| This is a model X or XF. Sometimes they are not marked. |
 |
This is an F1-B that looks like a Zenith. I don't want these as replacement parts aren't available | This is a Marvel-Scheiber. I don't want these as replacement parts aren't available. | 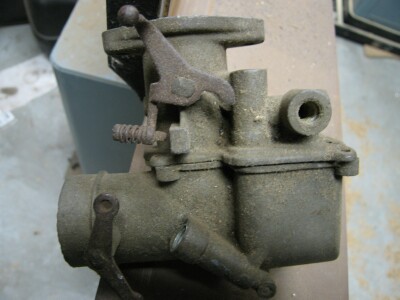 |
|
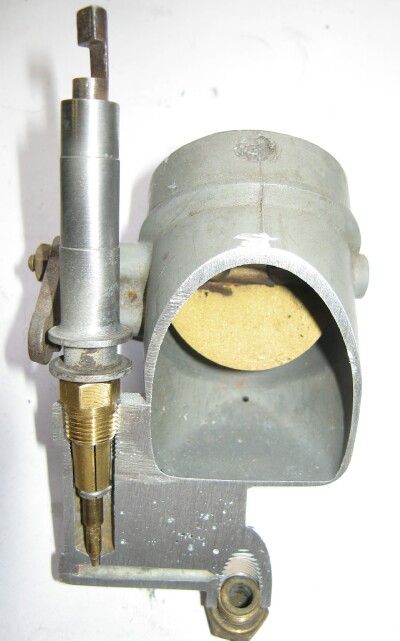
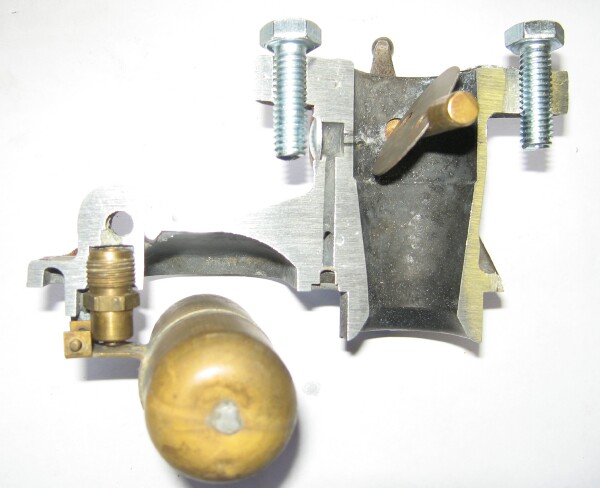
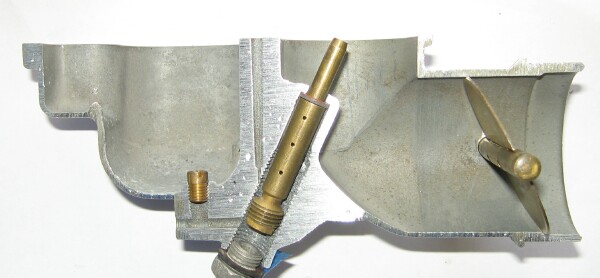
Tilly carburetors are easy to restore. Take them apart, soak in carburetor cleaner, bead blast, clean out the passages, replace any broken parts, and put in some new gaskets.
|
||||||||||
|
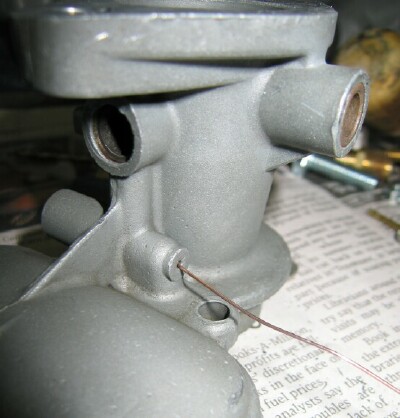
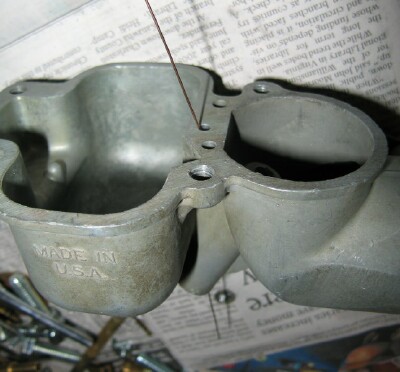
Places in the top to clean out with a piece of wire. I use a piece of 0.024inch MIG welding wire. |
||||||||||
|
1 |
||||||||||
|
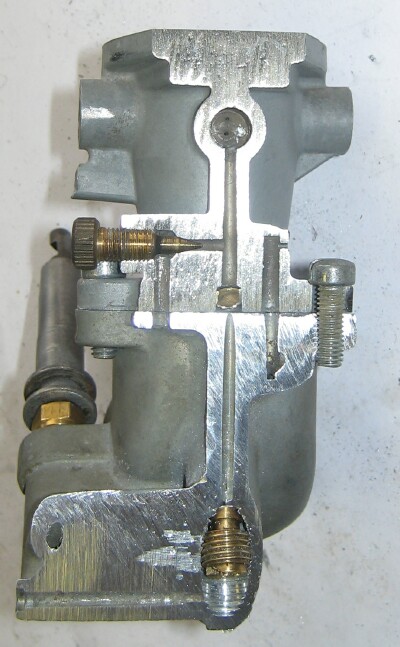
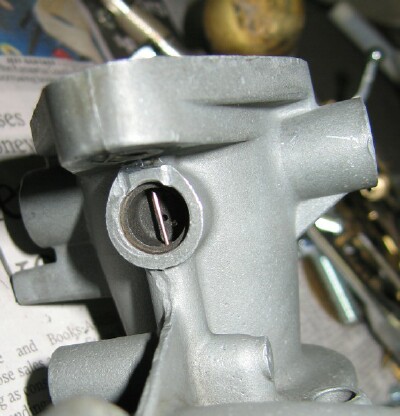
This is the idle circuit. Remove the 3/8inch welch plug, clean, and replace. There are 2 small holes to clean with a piece of wire here as well. |
||||||||||
|
3 |
||||||||||
|
Clean this passage with a piece of wire. |
||||||||||
|
4 |
||||||||||
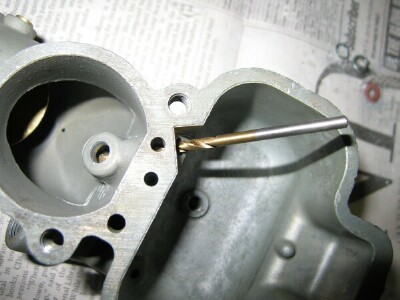
| There are 3 lead plugs that need to be taken out to clean the passages. I replace the plugs with a piece of lead solder pounded in to seal it off. | ||||||||||
|
6 |
||||||||||
|
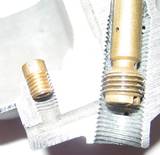
The large hole in the center is where the main nozzle goes. I have had to drill out about half the main nozzles. The drill bit is the passage for the adjusting needle.
8 |
||||||||||
| I sand the top of the upper casting and top of the lower casting on a stationary belt sander to flatten them. The upper casting top is often warped when the mounting bolts are over-tightened. This is better than the Zenith which breaks off the ears! | ||||||||||
9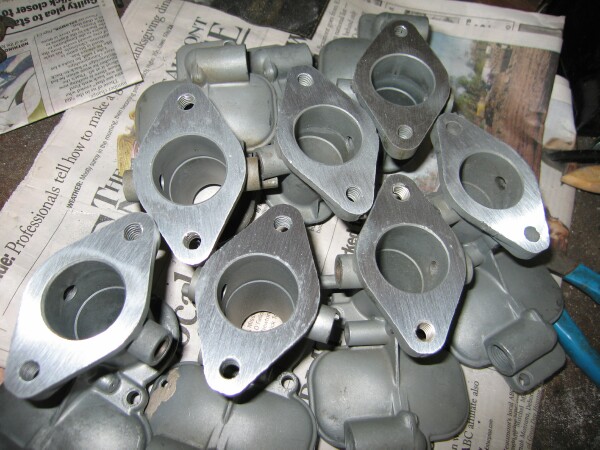 10 10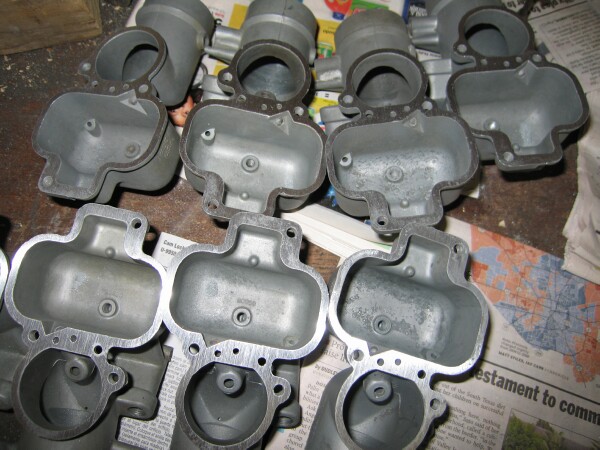 |
||||||||||
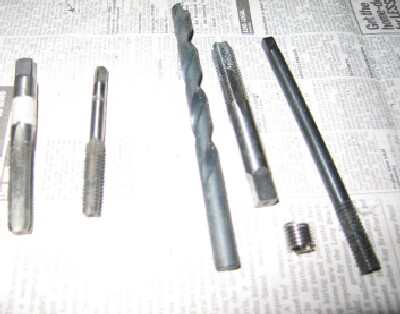
| Taps: 7/16-20 for float valve, 3/8-24 for main nozzle, 5/16-18 for mounting bolts, 12-32 for main jet, 1/4-32 for idle jet,1/4 pipe for gas inlet. You won't find the 12-32 and 1/4-32 at your local hardware store. I bought mine on Fleabay. A couple of gaskets and the 3/8inch welch plugs | ||||||||||
|
9 |
||||||||||
|
On the left is the float, the choke and throttle shafts. On the right is the float valve, main jet, main nozzle, adjusting needle, idle needle, body screws, mounting bolts and lower plug |
||||||||||
|
11 |
||||||||||
|
Gasoline Leaks Sometimes Tillys leak. Be sure and close the gasoline shutoff valve when you park your Model A. Leaking gasoline is dangerous and can cause fires and explosions!
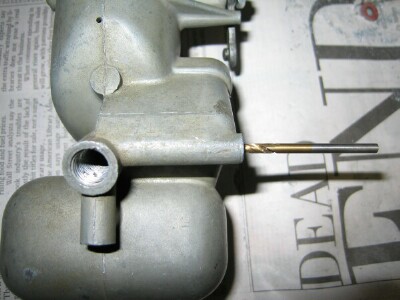
Possible causes of leaks are: 1-Sticking float valve. Get a new float valve, especially one with a viton plastic tip. A sticking float valve will cause the carb to leak out of the main nozzle when the gas shutoff valve is opened. The entire 10 gallons of gas may leak out if the gas shutoff valve is not closed when the A is parked. 2-Float not set correctly. I set the float a little low at 1 1/8inch to try to avoid leaking out of the main nozzle. 3-Picture 7 Drain plug. Replace gasket but be careful not to tighten too tight and strip the threads as the casting is aluminum not cast iron like the Zenith. 4-Picture 7 The lead passage plug may leak (drill bit is show in the passageway.) Peen the lead plug or replace it. 5-Picture 8 The lead passage plug may leak (drill bit is show in the passageway.) Peen the lead plug or replace it. 6-Inlet gasoline connecter. If it leaks here, try tightening the connecter but if that doesn't work, get a new upper casting. 7- Upper casting warped. This is a common problem that can cause leaks. I take a hammer and beat on the upper casting with the upper and lower casting screwed together. Works every time for me! You can also use two gaskets. |
||||||||||
|
Harder parts of restoration - The main nozzle can sometimes be difficult to remove and must be drilled out. If find this on about half of cores. Start with small bits and work up to larger ones. Chase the the threads with a 3/8-24 tap. - The main jet at the bottom of the float chamber may also have to be drilled out. Chase the threads with a 12-32 tap. - Mounting bolt holes are often stripped. Use 5/16-18 helicoils, special tap, and inserting tool to repair them. - Choke arm nuts. These are an odd size, 8-36. The parts houses have them. I got mine at Graingers. |
||||||||||
|
How a Tilly works
|
||||||||||
| This is what the final product should look like. | ||||||||||
 |
||||||||||
 |

 2
2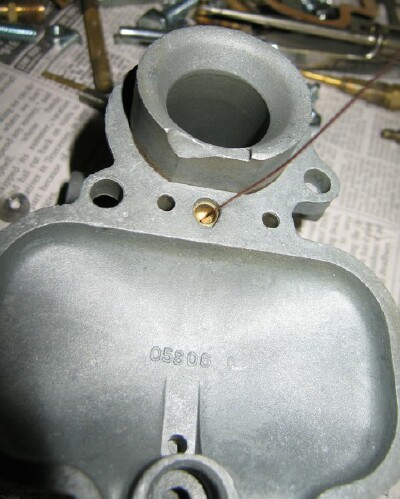
 5
5
 7
7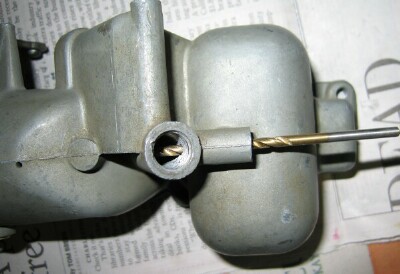
 10
10
 12
12
